You’re staring at the strip of silicone along the bath, telling yourself you’ll deal with it “properly” next weekend.
You’ve sprayed it with bleach, you’ve tried vinegar, you’ve held your breath against the fumes and scrubbed until your shoulders ache – and the black shadow is still there, just a little paler and more smug.
At some point, most of us quietly give up and decide that mould-stained sealant is just what an old bathroom looks like.
What slips under the radar is that the thing which actually shifts that staining in minutes isn’t a new miracle spray, but a small brown bottle that’s sat in chemists for decades: plain 3% hydrogen peroxide.
It doesn’t smell like a swimming pool, it doesn’t sting your throat, and you don’t need to strip the bathroom to use it.
Used the right way, it can foam the mould out of silicone and grout so fast it feels like cheating.
The bathroom trick hiding in the first-aid aisle
Hydrogen peroxide is the antiseptic your nan might have dabbed on a grazed knee.
For years it’s lived quietly in the pharmacy section, labelled for mouth rinses, minor cuts and the occasional DIY hair-lightening attempt.
In the last couple of years, though, cleaning forums and rental-property groups have started talking about it for something different: bathroom sealant.
People report laying soaked cotton wool along their blackened silicone, walking away to make a cup of tea, and coming back to find the mould stain lifted several shades or gone entirely.
The appeal is simple:
- It targets the mould staining in the silicone rather than just bleaching the surface.
- It breaks down into water and oxygen, so there’s no lingering chemical film.
- The smell is mild and short-lived compared with bleach.
1 bottle, 1 round of cotton wool, around 15 minutes: noticeably cleaner, lighter sealant without the choking fumes.
Why this works better on sealant than your usual suspects
Bleach and vinegar both do have their place in the bathroom, but neither is ideal for silicone.
Bleach is a strong oxidiser that can whiten the top layer of mould and grime, which is why it seems so satisfying at first.
The problem is that on flexible sealant it often:
- Doesn’t penetrate very far into the rubbery surface, so stains creep back quickly.
- Can weaken or yellow some sealants over time.
- Releases harsh fumes, especially in a small, steamy bathroom.
Vinegar is acidic, brilliant on limescale and soap scum, but far less impressive against mould rooted in silicone.
It can also slowly attack certain rubbers and natural stone, and the sharp smell puts many people off using it frequently.
Hydrogen peroxide sits somewhere in between: it’s a gentler oxidiser than household bleach, but still strong enough at 3% to disrupt mould and mildew cells.
Because it’s a clear liquid with tiny molecules, it seeps into the porous top of the sealant, fizzes on contact with organic material and helps lift out those grey and black streaks.
When it’s done its job, it naturally breaks down into water and oxygen.
No stinging fog, no leftover film – just a damp line you can wipe and dry.
Step-by-step: the 10–20 minute peroxide treatment
You don’t need special gadgets, just a bit of patience and something to hold the liquid against the sealant.
You’ll need:
- 3% hydrogen peroxide (from the chemist or supermarket pharmacy aisle)
- Cotton wool pads, balls, or a cotton roll cut into strips
- Disposable gloves
- An old toothbrush or soft cleaning brush
- Kitchen roll or an old cloth
- Optional: a strip of cling film to help keep things in place
1. Dry everything first
Mould hates light, likes damp, and clings harder when everything is wet.
Open a window or switch on the extractor, then:
- Run a towel or piece of kitchen roll along the sealant to get it as dry as you reasonably can.
- If you’ve just showered, wait 20–30 minutes before you start.
2. Soak your cotton
Pour a little hydrogen peroxide into a small glass or the bottle cap.
Dip your cotton pads or strips until they’re saturated but not dripping all over the floor.
- For horizontal lines (along the bath or shower tray), wide pads work well.
- For vertical corners, twist a thin “rope” of cotton wool that will cling to the silicone.
3. Lay it on the mould
Press the soaked cotton firmly along the mouldy sealant, covering the stained areas completely.
You want full contact – think of it as giving the silicone a wet compress.
If pieces are slipping down a vertical corner, you can very lightly press a strip of cling film over the top to hold them in place and slow down evaporation.
4. Leave it to fizz
Walk away. Make that cup of tea.
Give the peroxide 10–20 minutes to work:
- Light grey or pink staining often shifts in under 10 minutes.
- Heavier black mould may need closer to 20 minutes and a second round.
You may see tiny bubbles forming under the cotton – that’s the peroxide reacting with the mould and grime.
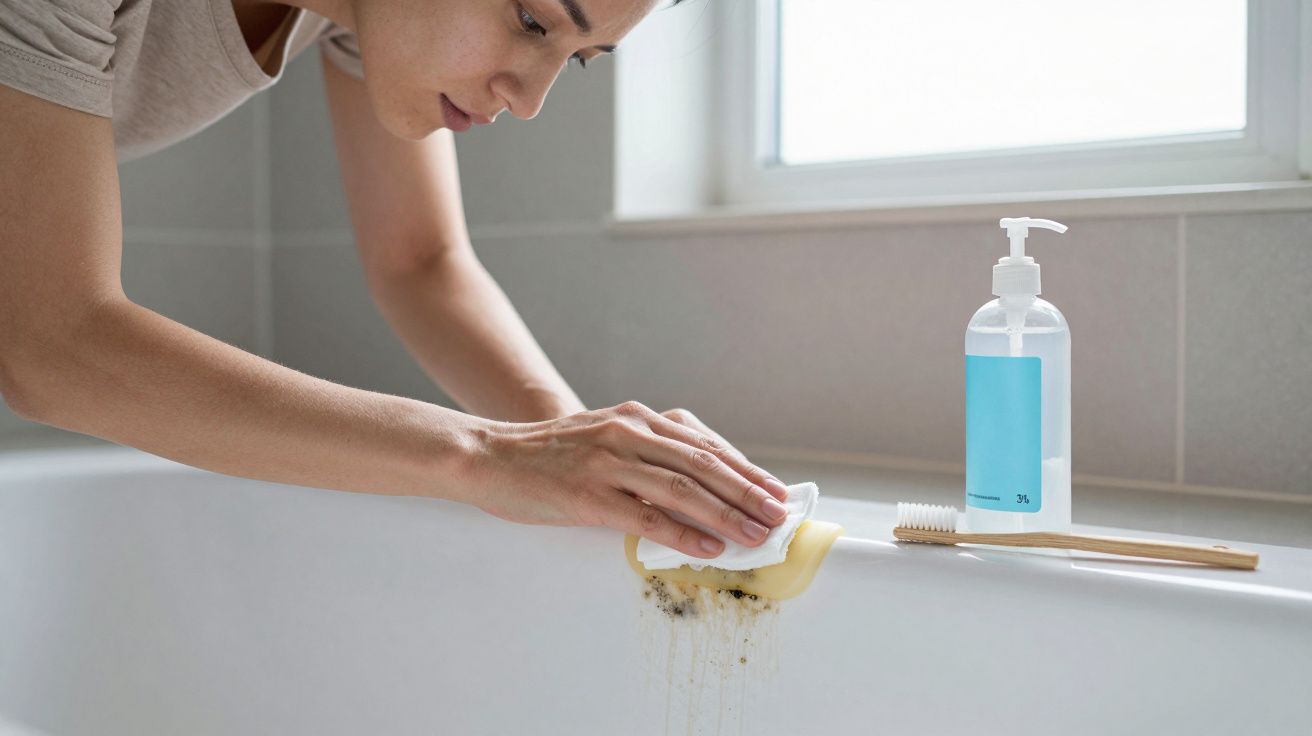
5. Wipe, then gently scrub if needed
Peel away the cotton and bin it.
Use kitchen roll or an old cloth to wipe along the sealant; a surprising amount of discoloured residue will come away.
For any remaining marks:
- Dip an old toothbrush in a little fresh peroxide.
- Gently scrub along the line of silicone.
- Wipe again and rinse with clean water.
6. Dry well
Finish by drying the sealant with a towel or microfibre.
A dry surface is less likely to invite the mould straight back.
If some staining remains, let everything dry fully and repeat another day rather than piling on aggressive products.
Often a couple of shorter treatments work better than one marathon session.
Where it shines – and where it doesn’t
Hydrogen peroxide isn’t a magic wand, but it earns its keep in classic bathroom trouble spots.
Particularly useful on:
- Silicone sealant along baths, shower trays and sinks
- The flexible bead in tiled corners
- Light grout lines with mild mould or pink slime
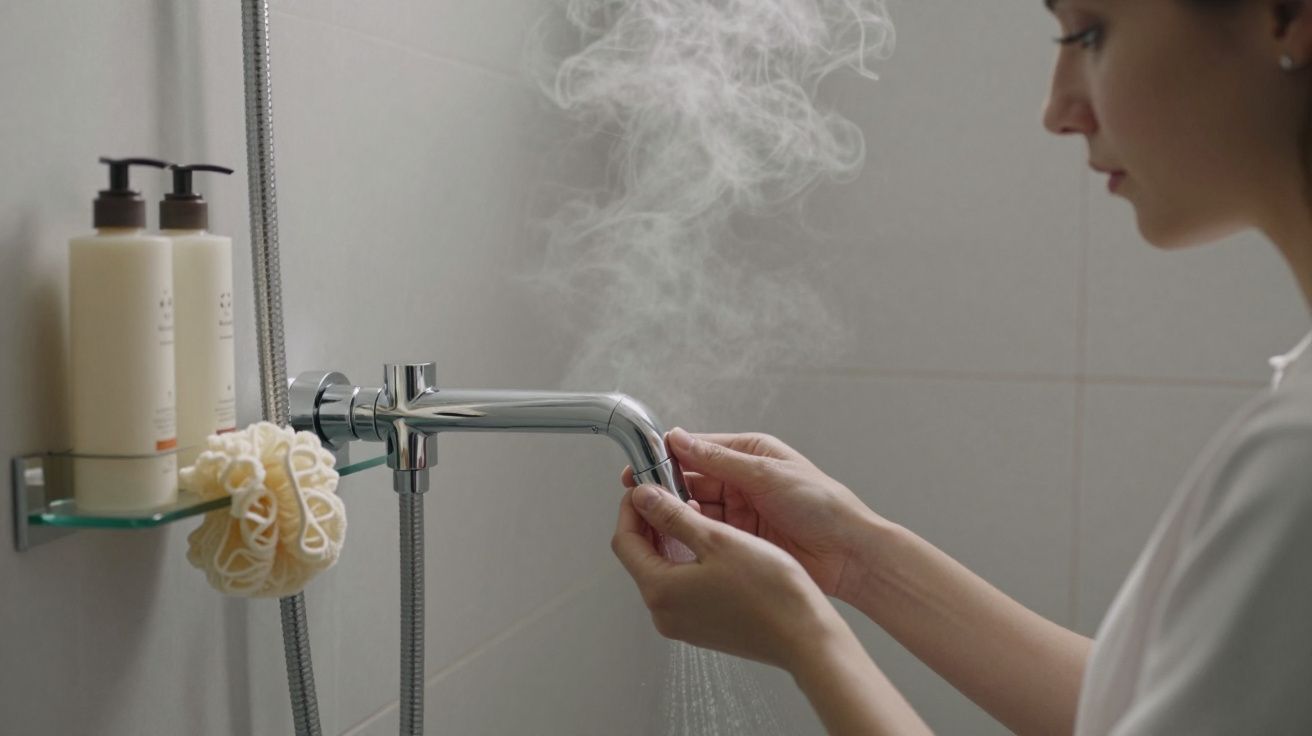
- Around taps and fittings where moisture sits
Use extra caution or avoid on:
- Unsealed natural stone (marble, limestone, travertine): can mark or dull the surface
- Delicately coloured grout: repeated use may lighten the colour
- Bare or corroded metals: prolonged contact can encourage further corrosion
- Any surface where the manufacturer explicitly says “no oxidising agents”
And there’s an important limit: if the silicone is badly degraded, cracked or crumbly, no cleaner will make it look new.
Peroxide can lift the mould and buy you time, but at some point, the answer is replacing the sealant rather than scrubbing it.
Cost and comparison with your usual cleaners
You don’t need much peroxide for this – it’s more about contact time than quantity.
| Criterion | 3% hydrogen peroxide | Bleach or white vinegar |
|---|---|---|
| Typical UK price | ~£1–£2 for 100–200 ml | £0.50–£1.50 per litre |
| Amount used per treatment (1 bath/shower) | 20–40 ml (with cotton) | 30–100 ml (often sprayed or poured) |
| Smell | Mild, short-lived | Strong bleach or sharp vinegar odour |
| Residue | Breaks down to water + oxygen | Can leave film or odour without rinsing |
Per treatment, the cost difference is tiny – often a few pence either way.
The real gain is effectiveness on that specific problem: mould in flexible sealant, where bleach and vinegar tend to underperform or cause side-effects.
Safety notes you shouldn’t skip
Hydrogen peroxide at 3% is sold for home use, but it still deserves a bit of respect.
- Wear gloves: it can temporarily whiten skin and cause mild irritation.
- Protect your eyes: avoid splashes, especially if you’re working over your head.
- Ventilate: the fumes are milder than bleach, but fresh air is still a good idea.
- Don’t mix it: never combine peroxide with bleach, vinegar, or any other cleaner “for extra power”.
Mixed chemicals can create irritating or hazardous gases. - Store it upright, in its original bottle, away from sunlight and heat.
If you have asthma or other breathing issues, treat it like any cleaning session: work in short bursts, keep a window open, and step out if the air feels heavy.
Small habits that keep the mould from coming back
The peroxide treatment is your reset button.
What you do in the days afterwards decides how long the sealant stays looking fresh.
A few low-effort habits help more than any product:
- Run the extractor fan for at least 15 minutes after a shower or bath.
- If there’s no fan, crack a window and leave the bathroom door open.
- Use a squeegee or old towel to remove the worst of the water from tiles and glass.
- Once or twice a week, run a dry cloth along the silicone to break up the beginning of any film.
- Fix slow drips from taps and shower heads so corners don’t stay wet 24/7.
You don’t have to turn into a person who lovingly buffs their shower every night.
Even one or two of these steps, done most of the time, stretch out the gap between “wow, that looks clean” and “how did it get this bad again?”.
FAQ:
- What strength hydrogen peroxide should I use on bathroom sealant?
For routine home use, stick to 3% hydrogen peroxide (sometimes labelled 10 volume). Stronger solutions are available for hair or specialist uses, but they’re harsher and not necessary for typical bathroom mould.- Does peroxide actually kill mould, or just bleach it?
At 3%, hydrogen peroxide both lightens the staining and damages many common household moulds and mildews on the surface. Deeply rooted growth behind the sealant or in the wall may remain, which is why ventilation and drying are important to stop regrowth.- Will this damage or peel my silicone?
On most modern bathroom sealants, occasional 3% peroxide treatments are well tolerated. Constant soaking or very frequent use could shorten the life of the sealant, so treat it as a periodic refresh rather than a daily spray.- Can I use the same method on grout between tiles?
Yes, with care. Peroxide works well on light grout with surface mould, especially if you press soaked cotton into the lines. On dark or coloured grout, test a small patch first, as repeated oxidising treatments can cause slight fading.- What if the mould keeps coming back quickly?
Persistent, fast-returning mould usually means there’s an underlying moisture issue – poor ventilation, a hidden leak, or permanently cold surfaces. Peroxide can tidy the appearance, but it won’t solve the cause, so it’s worth checking fans, seals and pipework if the problem is constant.


Comments (0)
No comments yet. Be the first to comment!
Leave a Comment