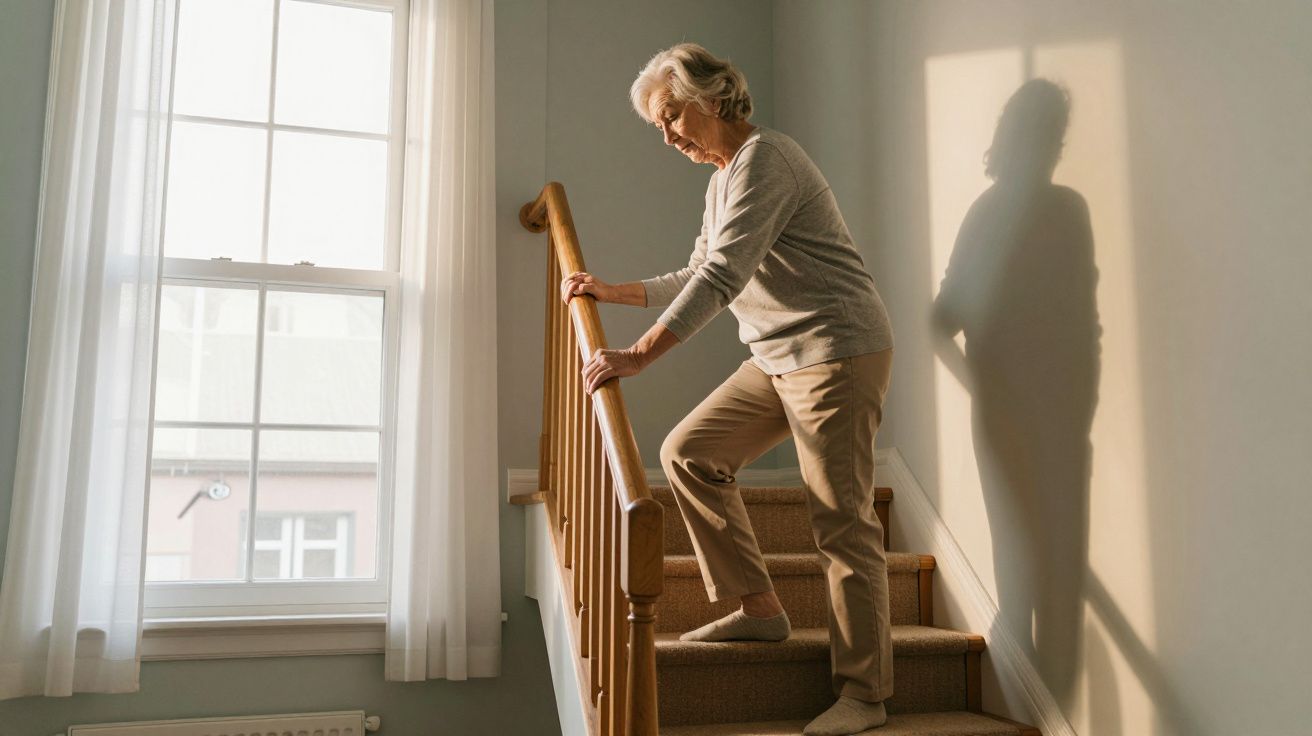
You know the moment. You’re halfway through the day, mug in hand, and you realise you’ve quietly rearranged life around the stairs. Laundry waits longer. You hold on for “one big trip” instead of a few small ones. That book you meant to read stays upstairs because your knees have started voting against every flight.
At first it feels sensible: why poke a sore joint? You tell yourself the ground floor has everything you need. Then one day you hesitate at a friend’s front door because the loo is on the first floor. A few months later, you notice you’re gripping the banister harder, feet turned sideways, body braced. The stairs haven’t changed. Your confidence has.
Physiotherapists see this slide all the time. The pain is real, the joints may well be arthritic, but there’s a hidden problem making things worse: the way you climb. A small change in how you use the rail and place each foot can shift the load off the sore bits without giving up the stairs altogether.
It has a simple name in clinic notes: “rail and step”. In real life, it’s the difference between dreading a staircase and quietly getting on with your day.
The quiet mistake that keeps knees angry
Most of us treat stairs like fast walking. We stride up or down, one foot per step, weight tipped forward, arms free for bags or phones. That pattern is efficient when joints are happy. When cartilage is worn or the joint is irritated, the forces through the front of the knee can spike with each rise and drop.
There’s another instinct that sneaks in: rushing the painful part. You push off quickly, skip hand support, and “drop” onto the lower step to get it over with. It feels brave. To your knees, it feels like a mini jump. Downstairs is usually worse than up, because gravity is not your friend.
Then there’s the sideways shuffle. To dodge the ache, you twist your feet to the side, knees turning in or out. Short term, it may feel easier. Long term, it can irritate hips, ankles and backs that were minding their own business. You’ve swapped one problem for three.
What physiotherapists notice is rarely dramatic. A heel hanging off the edge of the step so the knee has to work harder to control you. A death grip on the rail without actually letting the arm take weight. Two flights avoided “just in case” until legs quietly weaken from lack of use. The pain started the story; the habits write the next chapters.
The “rail and step” pattern physiotherapists teach
The rail and step technique does two simple things:
- It shares the work between your arms and legs.
- It uses your stronger leg to lead so the sore one doesn’t have to do the hardest job.
Think of it as a controlled, dignified version of how a child takes stairs when they first learn: one step at a time, with support. Not a failure, not a downgrade, just a different gear.
Physiotherapists often teach it with a rhyme:
- “Up with the good, down with the bad.”
That means: - Going up, you lead with the stronger or less painful leg. - Going down, you lead with the weaker or more painful leg, so the stronger one stays above to lower you under more control.
Couple that with a firm hand on the rail and a whole foot on each step, and you’ve suddenly taken a lot of sting out of the movement without avoiding it altogether.
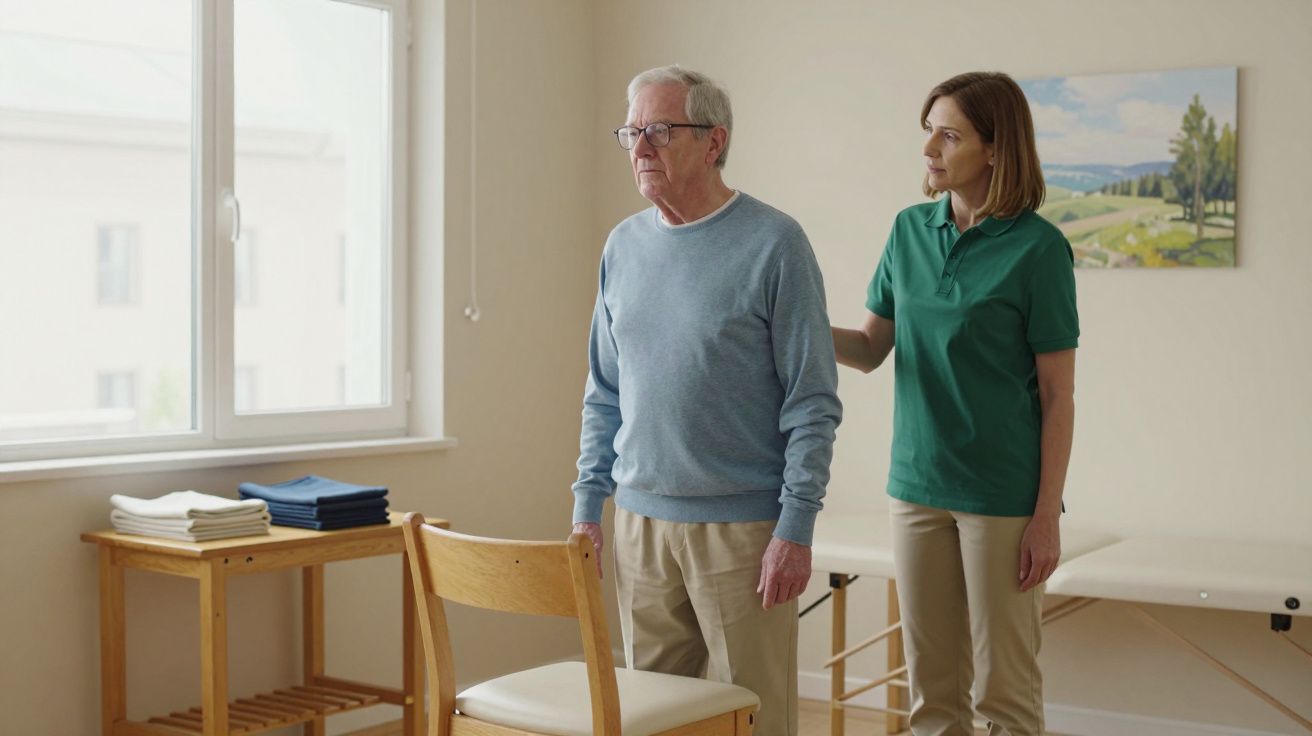
“We’re not trying to baby the knee forever,” one London physio tells her patients. “We’re giving it a pattern it can tolerate, so you keep using stairs and keep your muscles alive.”
Step by step: how to use rail and step going up
Start on the bottom step, facing the stairs, with a rail on at least one side. If you have a stick, hold it in the opposite hand to the rail or tuck it under your arm while you learn the pattern.
Get your foot fully on the step
Place your whole foot on the first step, heel included. Half-hanging heels mean more strain on the front of the knee and calf.Hold the rail like you mean it
Wrap your fingers round, thumb underneath, not just brushing it. This is a support, not decoration. Gently lean some weight through your hand.“Up with the good”
- Step your stronger / less painful leg up onto the next step.
- Use the rail and that leg to bring your body up.
- Bring the weaker leg up to join it on the same step.
- Step your stronger / less painful leg up onto the next step.
One step, two feet – and breathe
Both feet share each step before you tackle the next. No rushing to “catch up” into a normal stride. Keep your chest softly forwards over your feet, not leaning backwards.Repeat the pattern
- Rail.
- Stronger leg up.
- Weaker leg joins.
- Rail.
If one rail feels too far away, it’s okay to lightly rest your other hand on the wall or your thigh for balance. The goal is smooth, steady moves, not a perfect textbook pose.
Step by step: how to use it coming down (the trickier bit)
Downstairs is where most people feel wobbly. This is where the second half of the rhyme matters.
Both feet on the top step, rail in hand
Again, whole feet on the tread. Toes poking off the edge mean less control.Bring your weight slightly forward, not backwards
A small lean forwards (nose over toes) keeps your centre of gravity where your legs can control it. Leaning back makes your knees and balance work harder.“Down with the bad”
- Step the weaker / more painful leg down onto the next step first.
- Use the rail and your stronger leg above to gently lower your weight.
- Step the weaker / more painful leg down onto the next step first.
Let the strong leg follow
Bring the stronger leg down to join the weaker leg on the same step. Two feet per step again.Slow is safer than brave
There’s no prize for speed. Think “quiet steps” rather than “quick escape”. The softer the landing, the kinder it is on the joint.
If vision, balance or confidence are a worry, pausing on each step is allowed. So is talking yourself through the pattern out loud until it becomes a habit: “Rail, bad leg, good leg… rail, bad leg, good leg.”
Tiny tweaks that make stairs kinder on your joints
The rail and step pattern is the big lever. A few smaller tweaks add up.
Shoes matter
Thin, hard soles can make each step feel like a jolt. A trainer with a cushioned, fairly stiff sole spreads the load. Inside the house, avoid floppy slippers and long dressing gowns that threaten to tangle.Use both rails if you have them
Two rails share even more load between arms and legs. If you’re redesigning a hallway, adding a second rail is often cheaper than people expect and pays off daily.Light and vision
Poor lighting makes you tense and changes how you place your feet. A brighter bulb on the landing and contrasting tape on the edge of each step can make a surprising difference.Shorten the “big carry” habit
Instead of one heavy basket of laundry, split it into two light ones. The knees and balance muscles prefer three gentle trips using rail and step to one heroic haul you’re dreading.Strength work off the stairs
Simple exercises like sit-to-stand from a chair, mini squats at the kitchen worktop, or step-ups onto a low, stable step help the muscles around your knees cope better. Two or three short bouts a week often beat one big gym session you never quite get to.
Remember: pain that is sharp, locking, or suddenly worse needs medical advice, not just better technique. A physiotherapist can tailor the pattern and give you specific strengthening to back it up.
What this changes in everyday life
The aim is not to turn every staircase into a physio session. It’s to turn stairs back into something ordinary instead of something you plan your day around. When you trust a pattern, your brain stops running disaster scenarios with every step.
People who adopt rail and step regularly report a quiet shift. They go back to sleeping upstairs instead of on the sofa. They stop dreading train platforms and toilet trips at restaurants. The stairs are still there, the knees may still grumble, but the fear and flare-ups ease.
Over time, using the stairs in this controlled way can maintain or even gently improve leg strength. Avoiding them completely usually does the opposite. You don’t have to love stairs. You just need a way to meet them on terms your knees can live with.
| Key point | Detail | Why it helps |
|---|---|---|
| Rail and step pattern | One step at a time, rail in hand, “up with the good, down with the bad” | Reduces load on painful knee and improves control |
| Whole foot on each step | Heel and toes fully supported, no hanging off | Spreads forces and steadies balance |
| Small daily tweaks | Good shoes, better lighting, lighter loads | Makes every staircase less threatening and less painful |
FAQ:
- Isn’t using one step at a time a step backwards?
No. Physiotherapists see it as a different gear, not defeat. Many people use rail and step during a flare and return to a normal pattern when pain settles and strength improves.- Which leg is my “good” and which is my “bad”?
Use the leg that feels stronger or less painful as the “good” one. If both hurt, pick the side that feels slightly more reliable, or ask a physio to help you decide.- What if there’s no rail?
If possible, avoid unfamiliar rail-free stairs until you’ve built strength and balance. At home, installing at least one rail is strongly recommended. Outdoors, use a walking stick and a companion’s arm for extra support.- Can rail and step replace physiotherapy?
It’s a helpful technique, not a full treatment. If pain, swelling or giving way are ongoing, a physiotherapist or GP should assess you and design a plan around your specific joints and health.- How long before stairs feel easier?
Many people notice more confidence within days just from better technique. Pain and strength changes take longer – often a few weeks of consistent use plus simple strength work. The key is gentle repetition, not perfection.


Comments (0)
No comments yet. Be the first to comment!
Leave a Comment