The room is warm, the telly hums in the corner, and the biscuit tin is just close enough to tempt you. When it’s time to stand, though, everything slows. You rock forward once, twice, hands braced on your thighs, feeling that familiar wobble in your knees. For a second, you wonder if you should call someone over, then you haul yourself upright with a small grunt and a bigger sigh.
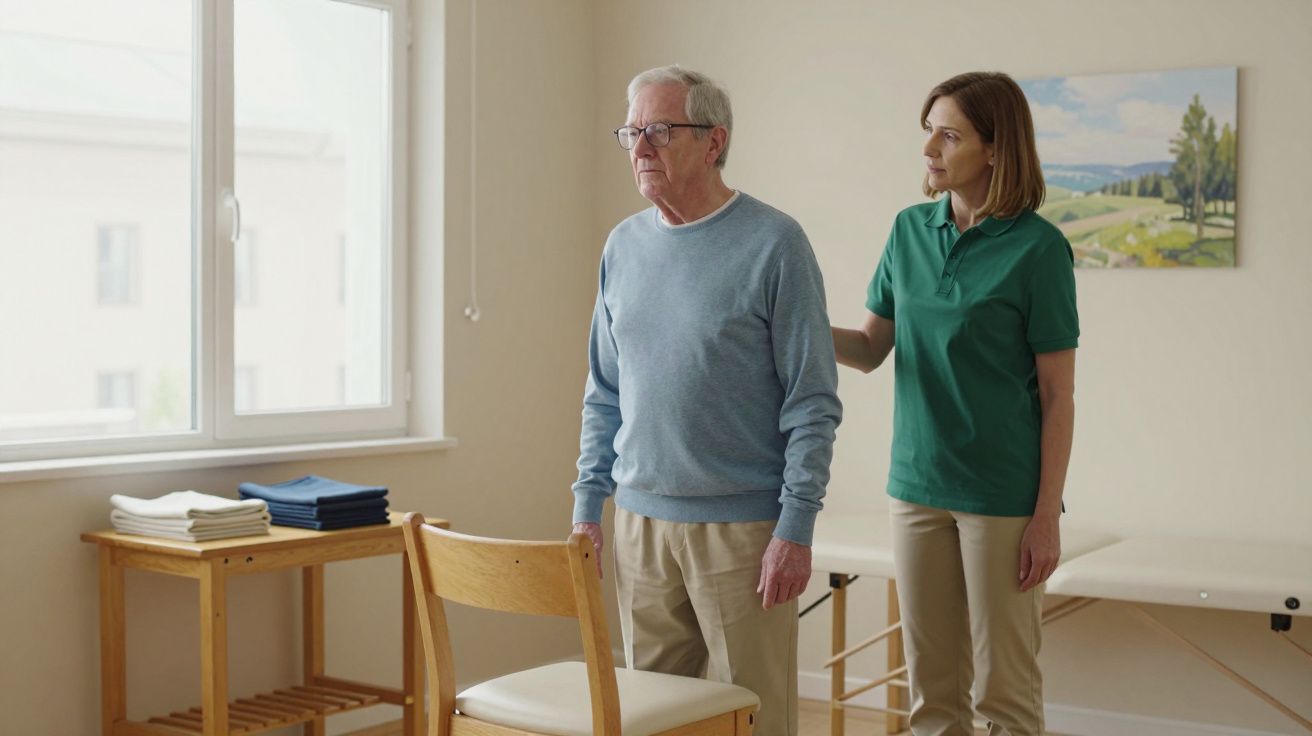
In a quiet physio clinic above a pharmacy in Birmingham, a 72‑year‑old retired engineer describes this exact scene. “I’m fit enough in my head,” he says, “but getting off the sofa feels like a negotiation.” The physiotherapist nods, pushes the squat rack to one side, and wheels over a plain wooden chair. No barbells, no lunges. Just a simple routine she calls the “sit‑to‑stand ladder” - designed for people over 65 who want strength they can actually use.
You won’t find it on a gym poster. It doesn’t look impressive. That is precisely the point.
Why physios are trading squats for the sit‑to‑stand ladder
Squats get all the glory. They’re brilliant in a gym, but for many older adults they’re a hard sell: sore knees, fear of falling, no idea where to put the feet. Add arthritis, a hip replacement or a wobbly balance day, and “just squat” becomes “absolutely not”.
Sit‑to‑stand is different. It’s the exact movement you need to get off the sofa, out of bed, up from the loo or park bench. It trains leg strength, balance and confidence in the shape your life actually uses. The “ladder” part is what physios love: you don’t just try the hardest version and hope. You start on the easiest rung and gradually move down to more challenging versions as your body and brain catch up.
Think of it like adjusting the height of a step. A high step is tough; a kerb is easier. The ladder simply plays with:
- Seat height – higher is easier, lower is harder
- Hand support – more hands is easier, no hands is harder
- Speed and control – fast and floppy is easier, slow and steady is harder
Instead of a single “do 3 sets of 10 squats”, you get a built‑in progression that matches a real person’s real legs on a real Tuesday afternoon. No mirrors, no Lycra, just you and a chair.
Build your own sit‑to‑stand ladder at home
You don’t need fancy kit. A sturdy chair, a table or worktop for balance, and maybe a firm cushion are enough. Think safety first: flat shoes, no wheels on the chair, and space around you.
Step 1: Set up your “rungs”
Pick three sitting options:
- High – e.g. a firm dining chair with a cushion, or the edge of a higher bed
- Medium – the same chair without a cushion
- Low – the front edge of your usual sofa, or a lower chair
Line them up in your mind from easiest (highest) to hardest (lowest). That’s your ladder.
Step 2: Learn the basic move
Start on your easiest seat height.
- Sit tall, feet flat, about hip‑width apart, toes slightly turned out.
- Shuffle forward to the front third of the seat so your feet are under your knees.
- Place hands on the arms of the chair or on your thighs.
- Lean your nose over your toes so you feel your weight move into your feet.
- Push through your heels and stand up, using as much hand help as you need.
- Step back until you feel the chair behind your legs, bend at hips and knees, and slowly lower back to sit.
That’s one sit‑to‑stand. If you feel your bottom “plop” onto the seat, use more hands and try to control the last bit more next time.
Soyons honnêtes : personne ne note perfect form in their living room. Aim for “steady and safe”, not “Instagram‑worthy squat”.
Step 3: Climb the ladder - a 3‑minute routine
Here’s a simple version UK physios often use:
Rung 1 – High seat, with hands
- Do 8–10 repetitions at your highest seat, using your hands as much as you like.
- Rest 30–60 seconds, breathing easy.
- Do 8–10 repetitions at your highest seat, using your hands as much as you like.
Rung 2 – Same height, less hands
- Stay on the same seat. This time, try to lighten your hand support.
- For example, fingertips only, or hands hover just above your thighs.
- Do another 6–8 repetitions.
- Stay on the same seat. This time, try to lighten your hand support.
Rung 3 – Medium seat, with hands
- Move to the slightly lower chair (remove the cushion, for example).
- Use your hands again and do 6 repetitions, focusing on slow, controlled sits.
- Move to the slightly lower chair (remove the cushion, for example).
If that already feels like a workout, stop there. You’ve done your ladder for the day. As you get stronger, you add more rungs:
- Rung 4 – Medium seat, arms crossed across your chest, 4–6 repetitions
- Rung 5 – Low seat, with hands, 4 repetitions
- Rung 6 – Low seat, arms crossed, 2–4 slow, proud repetitions
You’re not meant to reach the bottom rung on day one. The magic is in nudging one step further over weeks, not smashing yourself once.
What it should and shouldn’t feel like
You should notice:
- Muscles in thighs and bottom working
- Breathing a bit heavier but still able to talk
- A sense of effort that eases within a minute of resting
You should stop and sit fully if you feel:
- Sharp or sudden pain in the hip, knee, back or chest
- Dizziness, blurred vision or feeling faint
- Strong breathlessness that doesn’t ease with a brief rest
If in doubt, keep the rung easier and mention it to your GP or physio next time you see them.
Common mistakes that make sit‑to‑stand harder than it needs to be
Most people who “can’t get off the sofa” are fighting physics more than weakness. A few small tweaks help:
- Sitting too far back – if you start with your bottom glued to the backrest, your feet are too far away. Shuffle forward first.
- Feet too close together – a narrow stance feels wobbly. Aim for hip‑width, toes slightly out.
- Looking at the ceiling – tip your chest slightly forwards and look roughly where the wall meets the floor. It sends your weight into your legs.
- Rushing the down phase – standing up gets all the attention, but the slow sit is what builds control. Think “quiet landing”, not “drop and hope”.
If your knees hate the movement, raise the seat with a firm cushion, folded towel or even a book under each front chair leg. Higher is kinder.
A quick reference ladder
| Ladder rung | Description | Aim |
|---|---|---|
| Easy | High seat, hands pushing, moderate speed | Build confidence and warm up joints |
| Medium | Same or slightly lower seat, light or no hands | Strengthen thighs and bottom safely |
| Harder | Lower seat, arms crossed, slower sits | Train balance, power and real‑world ability |
You don’t have to hit “harder” to see real benefits. Plenty of over‑65s notice everyday changes just by moving from easy to medium over a few weeks.
How often, and what it actually changes
For most people over 65, physios suggest:
- 2–3 sessions per week, on non‑consecutive days
- 1–2 ladders per session (for example, Rungs 1–3 twice through)
- At least one rest day before you try to add a new rung or extra reps
After 3–6 weeks, people commonly report:
- Less “heaving” and more “just standing” when getting up
- Easier toilet transfers and car exits
- Feeling more stable when reaching for high shelves or turning quickly
Relief isn’t only physical. Feeling you can get up without help often takes the edge off worries about “being a burden” or “losing independence”. That mental shift matters as much as any muscle.
When to get advice instead of pushing on
Sit‑to‑stand is safe for most older adults, but there are times to be cautious:
- You’ve had a recent hip, knee or back operation – follow your surgeon’s or physio’s specific guidance.
- You have unstable angina, uncontrolled blood pressure or get chest pain on exertion.
- You’ve had a recent fall and are nervous weight‑bearing on one leg.
In these cases, a few supervised sessions with a physiotherapist, exercise referral instructor or falls clinic can tailor the ladder to you. They might add:
- A walking frame or rail in front of you for confidence
- A helper to steady the chair or stand beside you
- A different foot position if one leg is weaker or more painful
The goal is always the same: many small, safe wins that make the next attempt feel less scary.
From sofa struggle to steadier days
Once people crack the sit‑to‑stand ladder, they often start slipping it into odd corners of the day. Three reps before the kettle boils. Five before the evening news. A quick ladder after a long car journey. It becomes background strength training for actual life.
Over time, you may notice unexpected bonuses: climbing stairs with fewer pauses, carrying the shopping more easily, catching yourself when you trip instead of going straight down. That’s your legs, hips and balance quietly upgrading.
You don’t need a squat rack to age well. You need the confidence to stand up, sit down and move through your home without hesitation. A simple chair, a few minutes, and a ladder you climb at your own pace can get you there, one steady rise at a time.
Key points at a glance
- Start high and supported, then slowly lower the seat and your hand help.
- Aim for 2–3 short sessions a week, not one heroic marathon.
- Stop for sharp pain, dizziness or breathlessness that doesn’t settle.
- Small, regular ladders beat perfect, complicated programmes you never start.
FAQ:
- Is the sit‑to‑stand ladder better than walking? Walking is great for heart and general health, but it doesn’t always build the leg strength needed to get out of low chairs. Sit‑to‑stand directly trains that skill; the two work best together.
- What if I can’t stand without using my hands at all? That’s fine. Stay on the higher rungs, use your hands, and focus on controlling the movement. Many people never need to reach the “arms crossed” stage to feel real improvement.
- Can I hold on to a table or worktop instead of the chair arms? Yes, as long as it’s solid and doesn’t move. Standing from a chair placed close to a kitchen worktop or sturdy table is a common, safe adaptation.
- Will this help prevent falls? Stronger legs and better control when standing and sitting are key parts of fall prevention. Combined with balance exercises and home safety checks, sit‑to‑stands can reduce your risk.
- How long before I notice a difference? Some people feel more confident after a week or two. Measurable changes in strength and ease often appear after 4–6 weeks of regular practice.


Comments (0)
No comments yet. Be the first to comment!
Leave a Comment